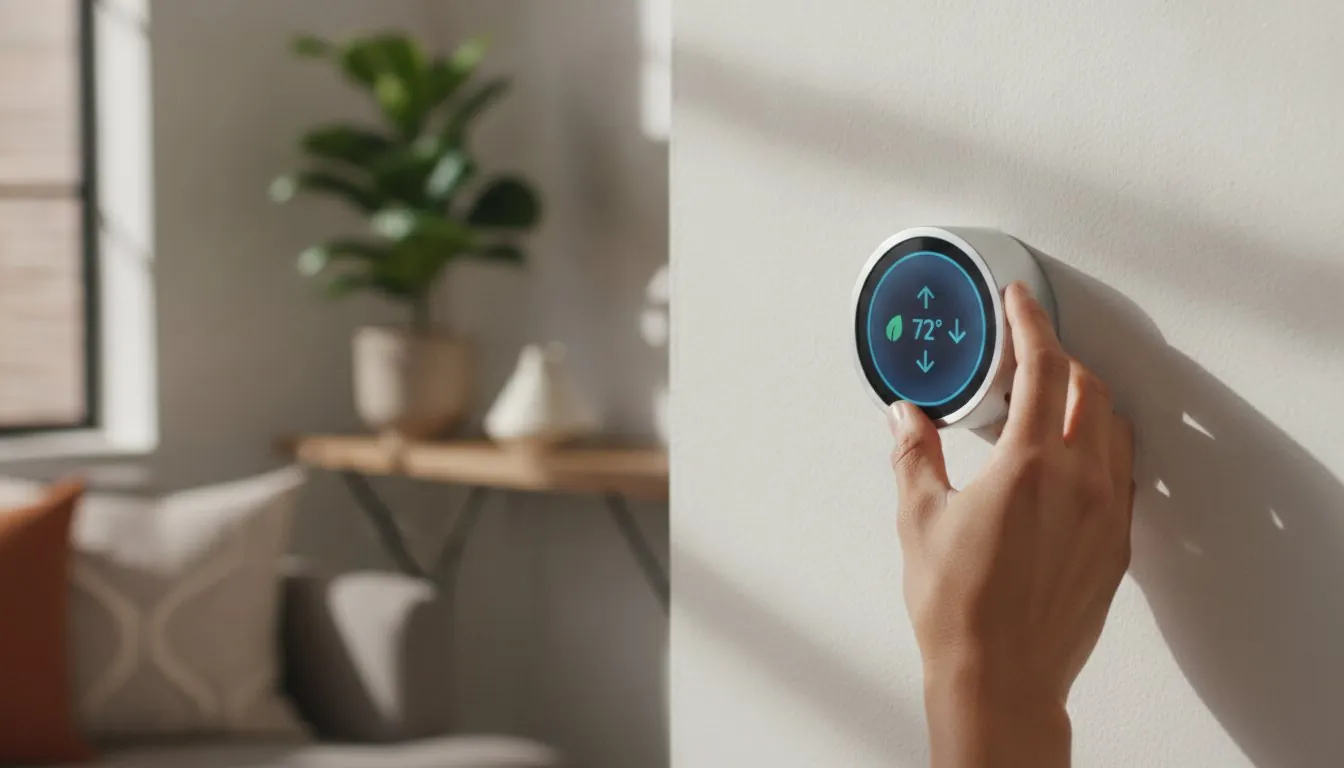
A smart thermostat can make an apartment more comfortable without turning a rental into a renovation project. The right choice lets you adjust the temperature from your phone, follow a simple schedule and take the device with you when you move. The wrong choice can leave you with a thermostat that does not fit your wiring—or a conversation with your landlord you did not need.
This guide starts with the checks that matter most: the heating system, the wires behind the existing thermostat and the rules in your lease. Once those are clear, choosing a renter-friendly model becomes much simpler.
Quick answer: what works best in an apartment?
For most renters with a standard low-voltage heating and cooling system, a thermostat with a clear compatibility checker, a C-wire solution and an easy-to-remove wall plate is the safest place to start. If you have electric baseboard heat, a wall heater or an unfamiliar two-wire setup, pause before buying: those systems may need a line-voltage thermostat or professional advice instead.
- Check the lease first. A reversible swap is often fine, but written approval is worth having when the lease is unclear.
- Photograph the original setup. Take a clear photo of the wiring and keep the old thermostat, screws and labels together.
- Use the manufacturer’s compatibility checker. Wire labels matter more than the number of wires you can see.
- Choose portability over extra features. Reliable scheduling and a good app are usually more useful in a rental than a complex system you cannot take with you.
Step 1: identify the heating system before you shop
Most smart thermostats are designed for low-voltage systems. These are common with central furnaces, boilers and central air. Their thermostat wires are usually thin and marked with letters such as R, W, Y, G and C.
Electric baseboard heaters and some wall heaters use line voltage. They are not compatible with a standard Nest, ecobee or similar low-voltage thermostat. Do not try to make a standard smart thermostat fit a line-voltage system. Look for a thermostat specifically rated for that kind of heat, or ask the building manager or a qualified electrician.
If you see only two wires, have an unusually old system or are not confident about what you are looking at, put the cover back on and use the brand’s compatibility tool before ordering anything. A ten-minute check can save a return and a frustrating installation day.
Step 2: understand the C-wire question
A C-wire provides steady power for a thermostat’s screen, Wi-Fi and app features. Some apartments have one already; many do not. Missing a C-wire does not automatically rule out a smart thermostat, but it narrows the options.
Some models include a power extender kit that connects at the HVAC control board. Others can work with a compatible adapter. Both options can be reversible, but access to the control board varies by building. If it is in a locked utility area or shared mechanical room, ask the landlord before planning around an adapter.
A plug-in transformer is another possibility in certain setups, although the visible cable is not ideal for every apartment. Avoid improvised wiring or a device that asks you to bypass a safety setting. Compatibility and safe installation matter more than getting every feature on day one.
What renters should prioritize in a smart thermostat
A compatibility check you can complete before buying
Choose a brand that lets you enter wire labels and system details online. This is more reliable than choosing by price, a retailer review or a photo of a thermostat that looks similar to yours.
Easy removal
Look for a trim plate that can cover the footprint of the original thermostat and keep every original part in a labeled bag. When you move, you should be able to restore the prior thermostat without hunting for screws or guessing which wire goes where.
Schedules that fit real apartment life
A simple weekday schedule, vacation mode and remote adjustments cover most needs. If one room is always warmer or colder, a model with an optional room sensor can help—but only if your HVAC system can respond meaningfully to that room.
Controls that match the home
If the household already uses Alexa, Google Home or Apple Home, check support before buying. Voice control is convenient, but a dependable thermostat app and physical controls are more important when Wi-Fi is down or a guest needs to change the temperature.
Popular renter-friendly options to compare
There is no single best thermostat for every apartment. Start with compatible options, then compare the features that will actually make a difference in your space.
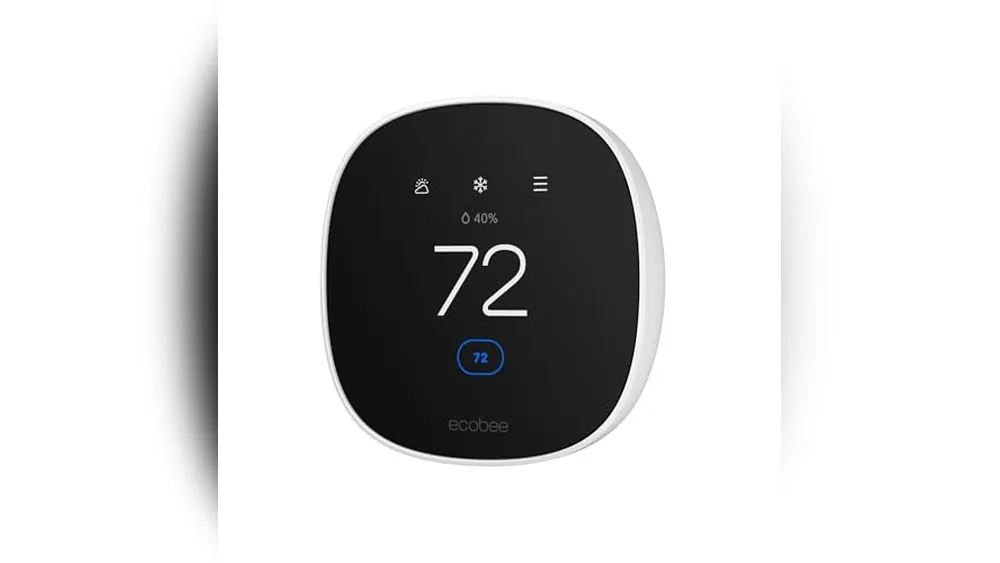
- ecobee smart thermostats: often a strong choice for households that want room sensors and a model with a C-wire solution. Confirm which model and accessories fit your system.
- Google Nest thermostats: worth comparing for straightforward app control and routines, but check the exact model against your wire labels before buying.
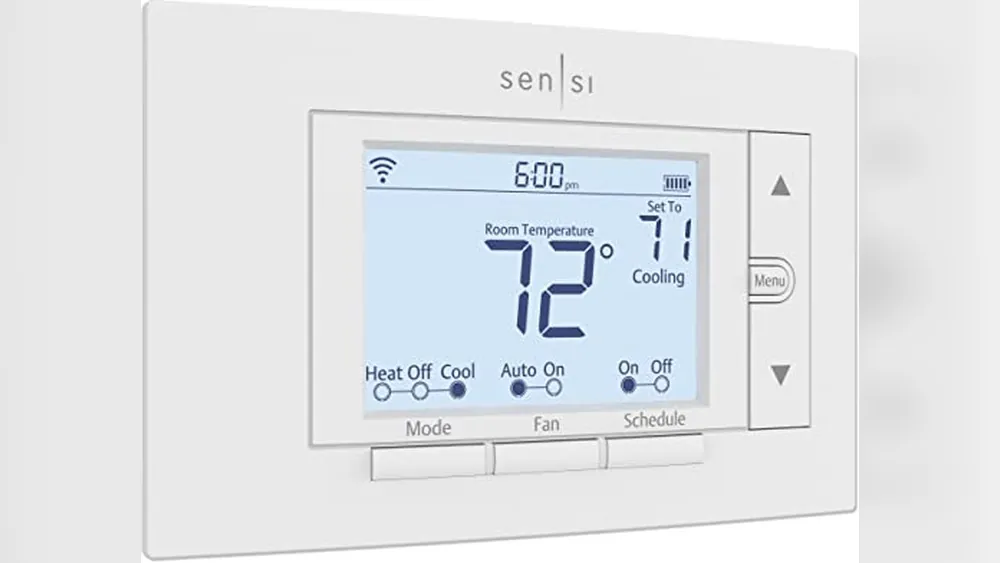
- Emerson Sensi thermostats: a practical option for renters who prefer a familiar thermostat shape and clear app controls. Compatibility still comes first.
- Amazon Smart Thermostat: a budget-conscious option for compatible systems, particularly for homes already using Alexa.
Use current product details and compatibility tools when you are ready to buy. Models, bundles and included accessories can change, so a guide should help you make the right check—not lock you into yesterday’s listing.
Install it without creating a move-out headache
- Review the lease and get permission if the rules are unclear.
- Turn off power to the heating and cooling system at the breaker.
- Photograph the existing thermostat and label each wire before disconnecting it.
- Store the original thermostat, screws and cover plate together.
- Follow the manufacturer’s instructions exactly, then test heating and cooling separately.
- Keep the installation photo with your lease documents so restoring the original setup is simple.
A trim plate can make the new thermostat look tidy and cover old paint lines. Do not rely on adhesive alone for a device that needs secure mounting. If the wall needs a new hole or the wiring looks damaged, stop and ask for help rather than creating a larger repair.
Make the thermostat useful after it is installed
Start with one schedule for the hours your apartment is usually empty and another for sleep. Give it a week, then adjust based on comfort rather than trying to automate every situation immediately. Vacation mode can help maintain a safe temperature while you are away, especially in cold weather.
If the apartment has weak Wi-Fi near the thermostat, improve the connection before assuming the device is unreliable. In dense buildings, a crowded network can affect smart-home gear. A stable connection and a simple schedule will do more for everyday comfort than an elaborate routine.
Frequently asked questions
Do I need permission from my landlord?
Check the lease before changing any installed hardware. A reversible thermostat swap may be acceptable, but written permission is the safest choice when the agreement does not clearly allow it.
Can I use a smart thermostat with two wires?
Sometimes, but it depends on the heating system and the thermostat model. Use the manufacturer’s compatibility checker and do not assume that every two-wire setup has the same solution.
Can I take the thermostat when I move?
Usually, if you have permission and reinstall the original thermostat correctly. Keep the original hardware and your wiring photo from the first day so moving out is straightforward.
Will a smart thermostat work with electric baseboard heat?
Only if it is specifically designed for line-voltage electric heat. Standard low-voltage smart thermostats are not suitable for that system.
A better apartment upgrade starts with compatibility
A smart thermostat is most valuable when it fits the apartment, the lease and the way you actually live. Verify the wiring, choose a reversible setup and keep the original parts safe. That gives you more control over comfort now without making your next move harder.