
Smart lights are one of the easiest ways to make Google Home useful every day. A lamp can come on before you get home, a bedroom can dim down at night, and a simple voice request can save a trip across a dark room. The setup is usually straightforward, but a few small decisions make the difference between lighting that feels helpful and lighting that keeps dropping out, landing in the wrong room, or going offline whenever someone uses the wall switch.
The most dependable approach is to set up one room completely before buying for the rest of the house. Choose a light people already use, make sure it has reliable power and Wi-Fi, connect it in the maker's app, then bring it into Google Home. Once that room works, you have a pattern you can repeat without turning a small upgrade into a weekend project.
This guide covers the setup path for common smart bulbs, lamps, plugs, and compatible switches. Exact screens vary by product, so keep the device instructions nearby and use Google's current device setup guidance when an app label does not match your screen.
Before you begin: choose the right first light
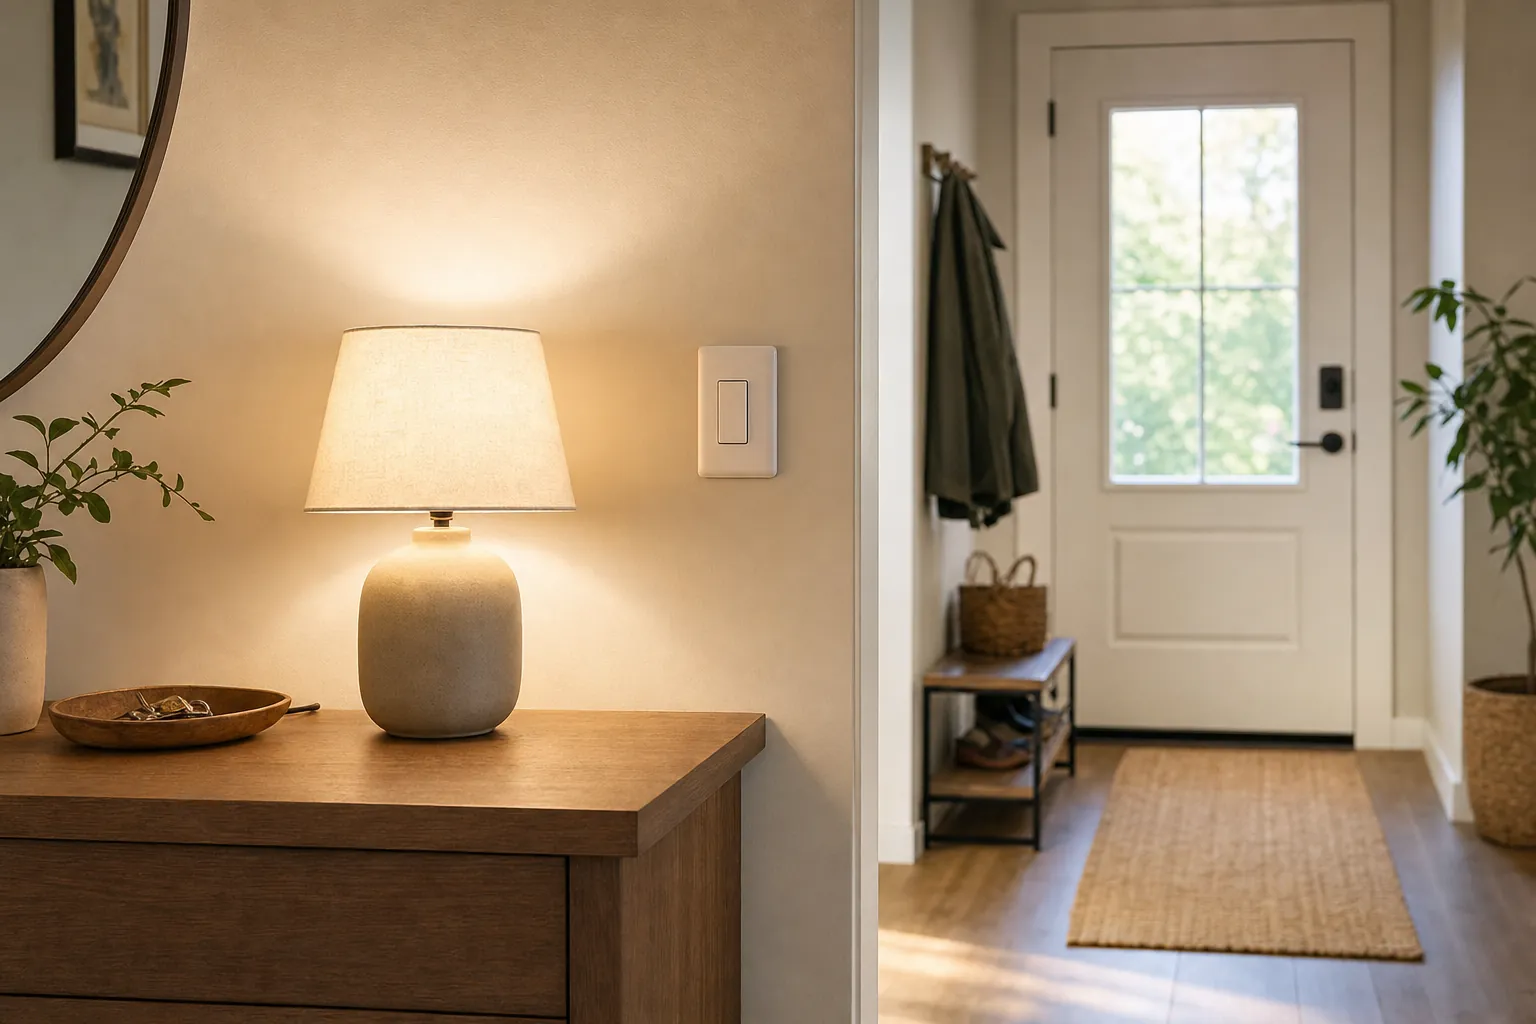
Start with a lamp, not the main ceiling fixture in the busiest room. A table or floor lamp gives you a low-risk test because it is easy to reach, easy to reset, and less likely to confuse anyone who expects the regular wall switch to work. Leave the lamp's own switch in the on position after setup, then use the app, voice control, or a routine to control the light.
For a ceiling fixture, pause before buying bulbs. If several people use the wall switch every day, a smart switch or dimmer may fit the room better than smart bulbs. A bulb needs steady power to stay connected. When the wall switch is off, it cannot respond to Google Home because it is not receiving electricity. That is a design mismatch, not a bad bulb.
Check these basics before you start:
- Compatible control: Confirm that the exact bulb, plug, or switch says it works with Google Home or Google Assistant.
- A stable home network: Keep your phone on the same home Wi-Fi network you plan to use for setup. Many accessories use 2.4 GHz Wi-Fi, even when your phone can also use 5 GHz.
- One account you can keep: Sign in to the device maker's app with the account that will remain with the household. Avoid setting up shared home equipment under a temporary guest account.
- Enough time for updates: A new device may install an update before it is ready. Let that finish before moving it to Google Home.
Step 1: set up the light in its own app first
Install the bulb, plug, or switch according to the manufacturer's directions. If you are using a smart bulb, put it in a fixture that is turned off before installation, then restore power. Open the maker's app and follow its pairing steps until you can turn the light on, off, and dim it from that app.
Do not skip this test. Google Home is a control layer, but the manufacturer app is usually where the accessory first joins your network, gets an update, and receives any needed firmware changes. If the light does not work reliably there, adding a second app will not fix the underlying connection.
Give the device a short, natural name while you are in the maker's app. “Reading lamp” is clearer than “Bulb 01,” especially when you later share the home with a partner, family member, or roommate. Avoid reusing the same name for a room, a lamp, and a routine. Voice control becomes far more reliable when each name has one job.
Some systems use a brand bridge instead of putting every bulb directly on Wi-Fi. That can be a sensible choice for a larger lighting setup because the bridge is designed to coordinate that brand's accessories. It is not a reason to buy extra hardware for one lamp, though. Start with the connection method the specific product requires, then expand only when it solves a real need.
Step 2: add the light to Google Home
Once the light responds in its own app, open Google Home. Use the add-device flow and choose the option that matches the product. A device that says it works with Google Home through its manufacturer usually needs you to link that manufacturer's service and sign in with the same account you used during the first setup. A Matter device may instead use the setup code supplied with the product.
Follow the prompts slowly. Choose the correct home if you have more than one, authorize only the requested service, and wait for the device list to finish loading. If the light is already linked but does not appear, do not immediately factory-reset it. First refresh the device list, confirm you are signed into the same account in both apps, and check whether the light was assigned to another Google Home household.
For Matter-compatible accessories, the label helps simplify cross-platform setup, but it does not remove every compatibility question. The device may still need a suitable controller or a Thread-capable part of the home, depending on its connection method. The Connectivity Standards Alliance's Matter overview is a useful place to understand the standard before buying around it. SavvyNests' Matter device guide explains what the label means in everyday terms.
Step 3: assign rooms before you make routines
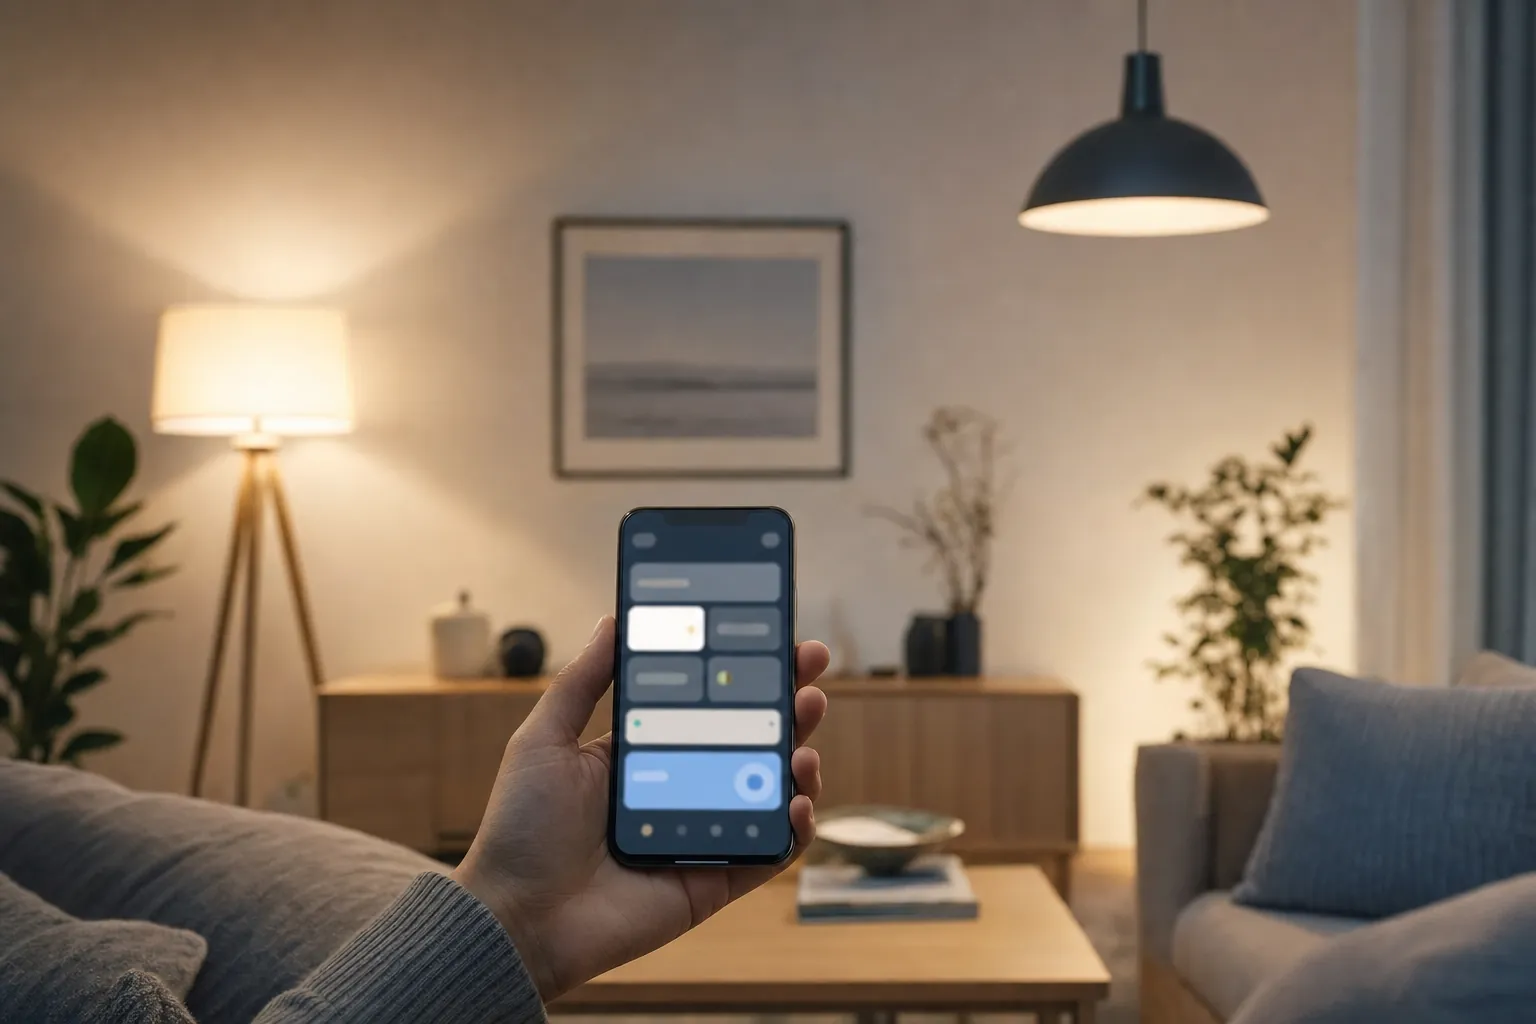
Room assignment is more than housekeeping. It makes the controls easier to understand and lets Google Home act on a group of lights with a simple command. Put the lamp in “Living room,” for example, and “turn off the living room lights” can address that room rather than making you remember the name of every bulb.
Use the room names your household naturally says out loud. “Front room” is better than “Main level south zone” if that is what everyone calls it. Keep one room name for one physical space, and add a clear device name only when two lights in that space need different jobs, such as “sofa lamp” and “reading lamp.”
Now test three basics before moving on:
- Turn the light on and off from Google Home.
- Adjust brightness from the app if the device supports dimming.
- Use a short voice request that includes the room, such as “turn on the living room lights.”
If those tests work, you have a solid foundation. If only the app works, return to the device name, room assignment, and linked account before you add more products. A small, clean setup is much easier to troubleshoot than a home full of half-finished pairings.
Step 4: make one routine that earns its place
Start with a routine you can notice and judge in a week. The best first routine is usually a modest one, such as turning on an entry lamp at sunset or dimming a bedroom lamp at a regular wind-down time. It should save a repeated step, not create a show.
A practical sequence is:
- Pick one light in a room people use at a predictable time.
- Set one trigger, either a time, a voice phrase, or an arrival-related prompt you trust.
- Set a useful brightness instead of always using full brightness.
- Leave a normal physical control available for anyone who does not use the app.
- Review the routine after a week and remove it if it causes more friction than it saves.
For a bedside lamp, a low warm setting in the evening is often more useful than a bright automatic scene. For an entry lamp, use a schedule that matches the season and adjust it when daylight shifts. SavvyNests' simple smart-home automations guide has more ideas that stay useful because they follow existing habits.

When a smart light will not connect
Most setup problems come back to power, Wi-Fi, or accounts. Work through those in that order before changing several settings at once. A deliberate check usually finds the issue faster than repeated resets.
- The light is offline: Confirm the wall switch, lamp switch, or plug is still supplying power. A bulb that is physically off cannot appear online.
- The device maker's app works but Google Home does not: Check that both apps use the same account and that the linked service has permission to share the device. Remove and relink the service only after confirming the account.
- Setup cannot find the device: Stand near the light and router, keep Bluetooth on if the product requests it, and temporarily disconnect from a guest network or VPN. Some accessories need your phone to be on the primary home network during pairing.
- Only one command fails: Rename the device or room so the wording is unmistakable. Similar names are a common source of voice-control confusion.
- The light drops out repeatedly: Test the lamp close to the router. If it becomes stable there, the issue is likely coverage, not the bulb. Read the home network guide before adding more devices to a weak connection.
Factory-reset only when the product instructions call for it or after the basic checks fail. A reset removes saved network details and may force you to repeat both the manufacturer setup and Google Home linking. Keep the setup code or instruction card until the room has worked reliably for at least a few days.
Bulbs, plugs, and switches: choose the control people will use
Google Home can control several types of lighting, but each belongs in a different situation. A smart bulb is ideal for a portable lamp, a rental-friendly trial, or color and white-tuning features. A smart plug can make an ordinary lamp part of a schedule, but it cannot dim a non-dimmable lamp or change its color. A smart switch or dimmer can make a whole wired lighting circuit easier for everyone to use, but it needs the right wiring, fixture compatibility, and sometimes permission from a landlord.
Do not place a smart bulb behind a traditional dimmer unless the product maker specifically says the combination is supported. That can lead to flickering, unexpected behavior, or a bulb that no longer stays powered. If the wall control is the main way people use the room, review the trade-offs in the smart bulbs versus smart switches guide before buying a multi-bulb pack.
Renters can usually start with bulbs, plugs, and portable lamps because they are easy to remove later. The smart home for renters guide covers the checks that matter before changing a switch, lock, thermostat, or shared building equipment.
Build the room before you build the house
Once your first room works, resist the urge to buy ten more lights at once. Use that room long enough to learn what matters: whether people use voice control, whether the schedule lands at the right time, whether the light needs a physical backup, and whether the Wi-Fi stays steady. Then repeat the same pattern in the next room.
When you are ready to compare compatible choices, use the Google Home smart lights buying guide to narrow the device type first. If the project is growing beyond a few lights and plugs, the smart-home hub guide can help you decide whether a hub or brand bridge will make the next step simpler.
The goal is not a house full of app icons. It is lighting that turns on when it is helpful, stays understandable for everyone at home, and still has a manual option when the internet is having a bad day.
Frequently asked questions
Can Google Home control any smart light?
No. Check that the exact bulb, plug, switch, or lighting system is listed as compatible with Google Home or Google Assistant. Products from the same brand can have different connection methods, so confirm the individual model rather than relying on the brand name alone.
Do smart lights need a hub to work with Google Home?
Not always. Many Wi-Fi lights can connect through their own app and then link to Google Home. Some lighting systems use a brand bridge, while Matter or Thread accessories may need compatible home equipment. Follow the requirements for the specific product you are adding.
Why is my smart bulb offline in Google Home?
First check that it has constant electrical power. Then confirm the manufacturer's app can still control it, your Wi-Fi is stable, and the linked account is the same in both apps. If the device app works but Google Home does not, relinking the service may help after you confirm the account details.
Can I use a smart bulb with a regular wall switch?
Yes, but the wall switch must remain on for the bulb to stay connected. If people commonly use that switch, a smart switch or dimmer may be a better match for the room because it keeps the familiar wall control available.
What is the easiest first Google Home lighting routine?
Choose one lamp that is used at a regular time and schedule it to turn on or dim down. An entry lamp at sunset or a bedside lamp in the evening is easy to test, easy to adjust, and useful without adding unnecessary complexity.