
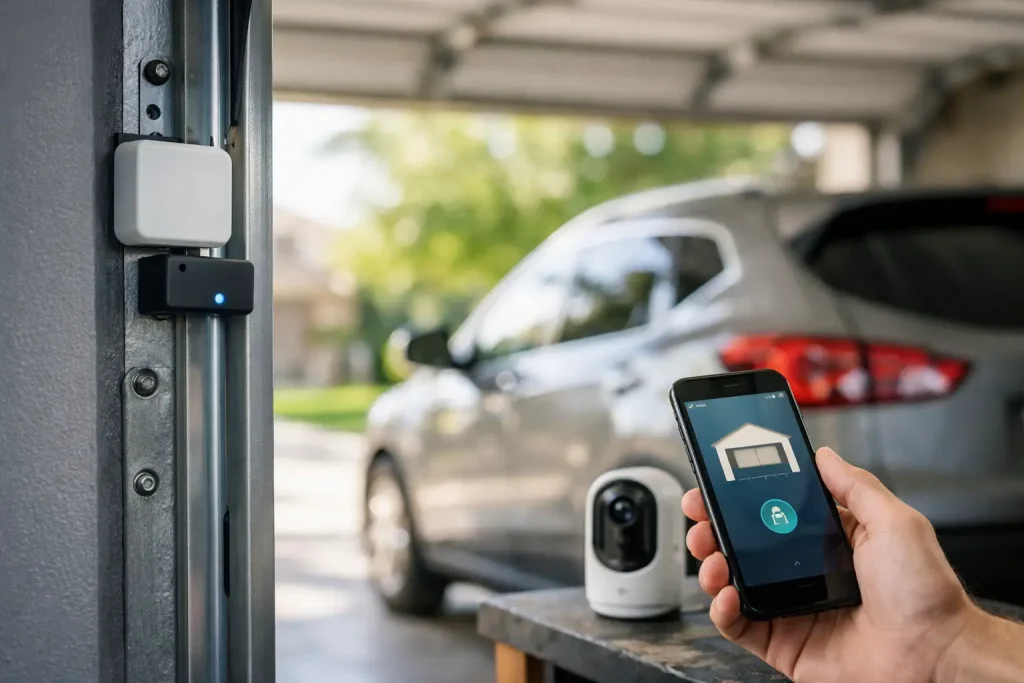
A garage door left open at 11:30 p.m. is one of those tiny household problems that can turn into a very long night. Maybe you are already in bed, maybe you are away for the weekend, or maybe the kids left on bikes and never pulled the door down. A smart garage door sensor gives you a simple answer: check the door’s real status from your phone and get an alert when something changes.
That sounds straightforward, but garage gadgets get confusing fast. Some sensors only report whether a door is open or closed. Others are part of a controller that can also operate the opener. The right pick depends on whether you need awareness, remote control, or both.
What a Smart Garage Door Sensor Actually Does
At its simplest, a smart garage door sensor detects whether the door is open or closed. Most use a small contact sensor or tilt sensor mounted on the door, paired with a hub, bridge, or Wi-Fi controller. When the door moves, the sensor reports its status to an app.
That status is more useful than it may seem. You can receive a notification when someone opens the garage, confirm that the door closed after you left, or set a reminder if it stays open longer than you prefer. For attached garages, that can also help you avoid leaving an easy entry point into your home open overnight.
A sensor is not always the same thing as a smart garage door controller. A controller connects to a compatible garage door opener and can send an open or close command. It usually includes a door-position sensor because the app needs to know whether the door actually moved. If you only want alerts, a standalone sensor may be cheaper and easier. If you routinely wonder, “Did I close the garage?” a controller with a sensor is usually worth considering.
Choose the Right Type for Your Garage
The biggest buying mistake is assuming every smart garage device works with every opener. Before buying, decide which of these setups fits your need.
A standalone open-close sensor
This is the low-cost, low-commitment option. It reports the door’s position but does not control the opener. It can be a smart contact sensor, a tilt sensor, or a purpose-built garage sensor that connects to a compatible hub.
This route works well for renters, for detached garages without a convenient outlet near the opener, and for households that already use a smart-home platform with sensors. It can also be the better choice when you do not want anyone to be able to operate the garage door remotely.
The trade-off is obvious: if you get an alert that the door is open, you still have to close it yourself or ask someone nearby to do it.
A smart garage door controller with a sensor
A controller adds remote operation. In most cases, you mount a small device near the opener, connect it to the opener’s wall-button terminals, plug it into power, and attach the included sensor to the garage door. From there, the app can show status and let you close or open the door from elsewhere.
This is the best fit for homeowners who want true convenience, such as closing the garage after school drop-off or letting a trusted family member in while you are away. It is also useful for package deliveries, though remote access should be handled carefully.
Compatibility matters most here. Many standard openers work with add-on controllers, but some newer openers with proprietary wiring, integrated cameras, or special security features need a manufacturer-specific adapter or may not support third-party control at all.
An opener with smart features built in
If your opener is old, noisy, unreliable, or missing modern safety features, replacing it with a smart model can make more sense than adding accessories. Built-in systems tend to offer a cleaner installation and fewer pieces to manage.
Still, it is the most expensive path. A new opener may require professional installation, especially if the garage has an unusual door, worn springs, or outdated wiring. Do not replace a perfectly good opener just for app access unless the added cost genuinely solves other problems.
Compatibility Checks to Make Before You Buy
Spend five minutes checking compatibility before you put anything in your cart. It can save you the headache of installing a controller only to learn that it cannot communicate with your opener.
First, find your opener’s brand and model number. It is usually printed on the motor housing, often near the light cover or side panel. Check whether the device supports that exact model, not just the brand name.
Next, look at the wall control. A basic opener often uses two simple low-voltage wires, which many add-on controllers can connect to. A wall panel with a screen, multiple advanced buttons, or a proprietary digital connection can be more complicated. That does not automatically rule out a smart controller, but it is a signal to read the compatibility details closely.
Also consider your Wi-Fi situation. Many garage devices use 2.4 GHz Wi-Fi rather than 5 GHz. That is normal, but your phone and router setup must allow the device to join the 2.4 GHz network during installation. Because garages are often at the edge of a home’s coverage, test your Wi-Fi signal near the opener before buying. A sensor is only smart when it can stay connected.
Finally, think about your preferred ecosystem. If Alexa, Google Home, Apple Home, SmartThings, or another platform is already part of your home, confirm what functions are supported. Some integrations show door status but do not allow voice opening. That limitation is often intentional for safety.
Features That Make Everyday Life Easier
The most valuable feature is reliable open-close alerts. Look for alerts you can customize, such as a notification when the door opens, closes, or remains open for a set period. A five-minute reminder may be useful for an active household, while a 30-minute reminder can prevent unnecessary pings.
Activity history is another practical feature. It helps answer everyday questions: Did the door close after the dog walker left? What time did the teenager get home? Did the delivery person enter the garage during the approved window? It is not a replacement for a security camera, but it adds useful context.
If you choose remote control, pay attention to scheduling and automation options. Closing the garage automatically every night can be helpful, but only if the system has dependable safety protections and everyone in the household understands the routine. Avoid automations that open the garage automatically based only on your phone’s location. GPS can be imprecise, and an unintended opening is a bigger problem than an extra tap in an app.
Battery life matters for standalone sensors. Many run for a year or longer on a small battery, but extreme heat and cold can shorten that lifespan. Choose a device that gives a low-battery warning instead of leaving you to discover the problem after an alert fails.
Installation Tips Without the Overwhelm
Most sensor installations are DIY-friendly. Clean the mounting surface first, especially in a dusty garage, and follow the placement instructions exactly. A tilt sensor typically needs to sit on the top panel of the garage door so its orientation changes clearly when the door opens. A contact sensor needs the two pieces aligned when the door is closed.
For adhesive-mounted devices, make sure the garage door surface is dry and warm enough for the adhesive to bond. For screw-mounted hardware, avoid drilling into areas that could interfere with the door’s movement or insulation. Renters should favor removable adhesive, but check it occasionally because temperature swings can weaken the hold.
With a controller, turn off power to the opener before attaching any wires. The wiring is usually simple, but the exact terminals and setup steps vary. Do not guess. If your opener’s wiring looks different from the instructions or the door behaves oddly after setup, stop and contact the device maker or a garage-door technician.
After installation, test the system several times. Open and close the door from the wall button, remote, and app if applicable. Verify that the app status changes correctly every time. Then test alerts while standing outside your home on cellular data. This small step catches Wi-Fi and notification-permission problems before you rely on the system.
Keep Garage Access Private and Safe
A connected garage door is part of your home’s security perimeter, so treat its account like you would a smart lock account. Use a unique, strong password and turn on two-factor authentication when available. Keep the controller’s app, your phone, and your Wi-Fi router updated.
Only share access with people who truly need it. If the app supports temporary or scheduled guest access, use that instead of handing out your main password. Remove former roommates, contractors, and house sitters when their access is no longer needed.
Remote closing is generally lower risk than remote opening, but safety still comes first. Never close the door from an app unless you know the doorway is clear. The opener’s photo-eye sensors should be clean, aligned, and working properly, and no smart add-on should bypass those built-in protections.
A smart garage door sensor will not make an aging door mechanically safe, nor will it replace a lock, camera, or good household habits. What it can do is remove one nagging uncertainty from your day. Start with reliable status alerts, choose remote control only if you will use it, and give yourself the kind of small convenience that makes a home feel easier to run.