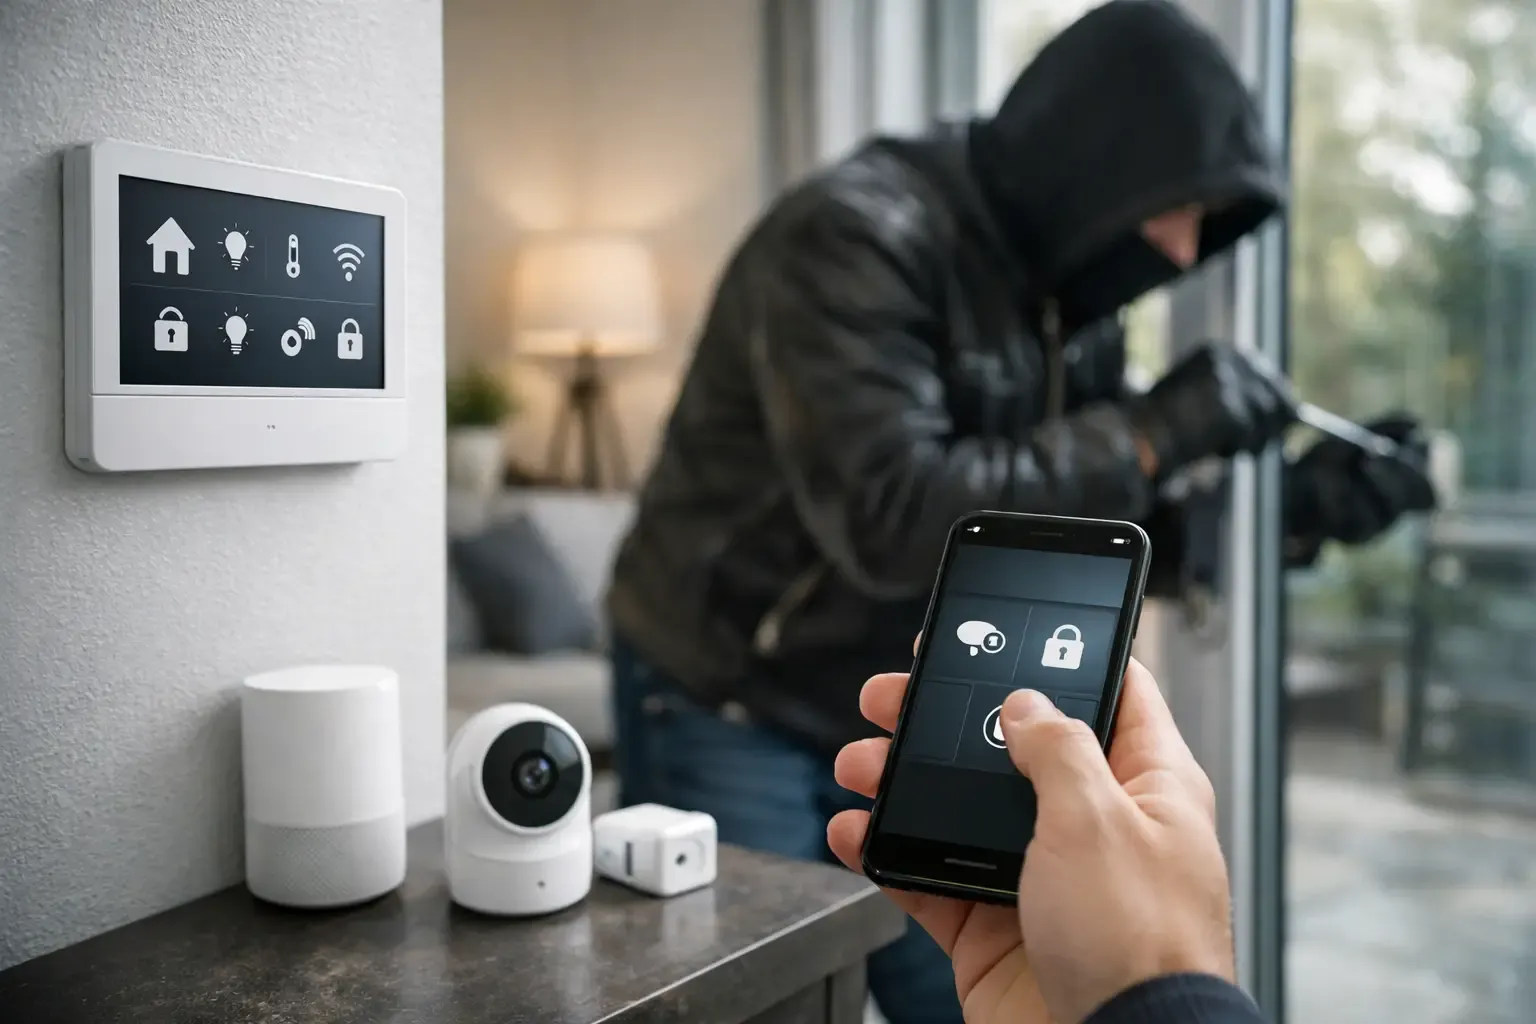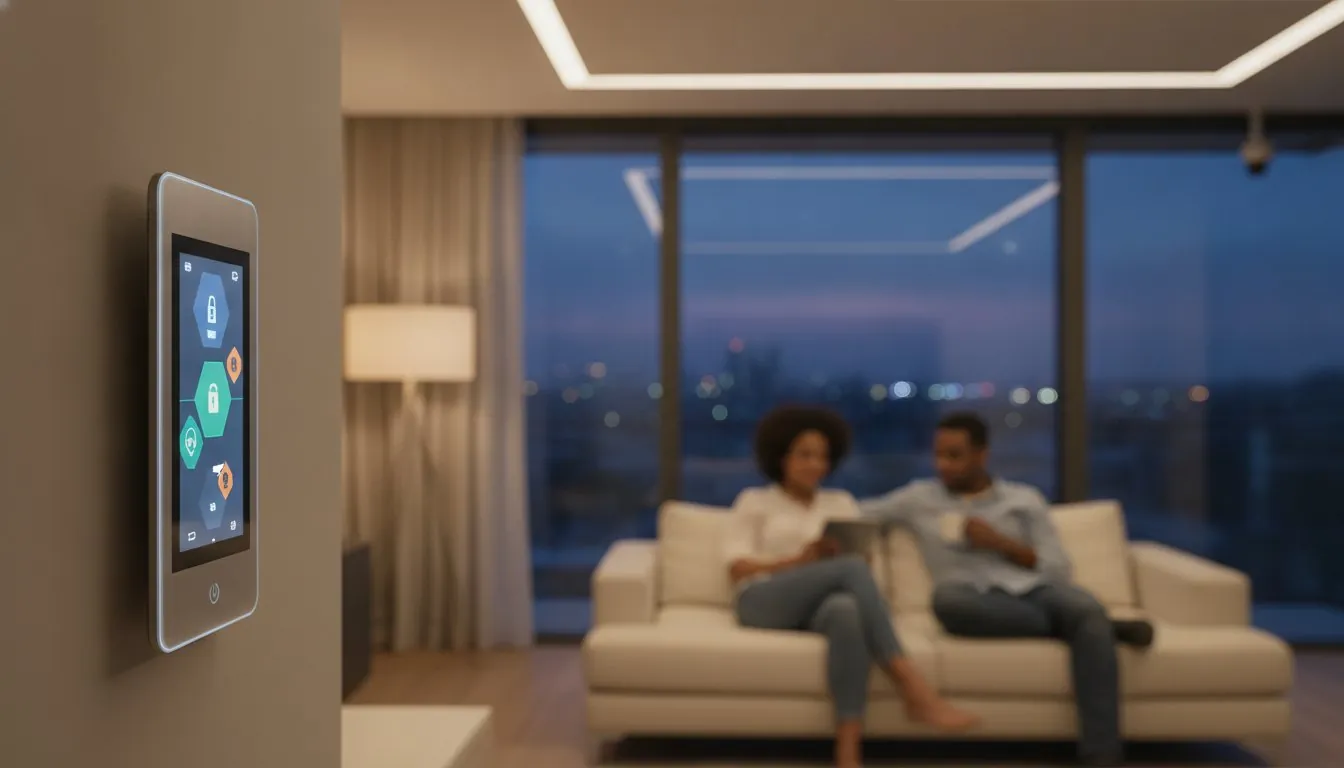
What if you could build a professional-grade fortress around your family using nothing but a few boxes and your smartphone? It’s a powerful thought, but for many, the reality of unboxing a new device feels more like a recipe for a headache than a path to peace of mind. If you’re worried about technical glitches or hackers peering through your cameras, you aren’t alone. That’s why we’ve created this smart home security system setup guide for beginners. We want to take the guesswork out of the process so you can focus on what matters; keeping your home safe.
We know the struggle of staring at a pile of sensors and wondering if you’ve placed them in the right spots to catch an intruder. You want alerts that are actually helpful, not a phone that buzzes every time a moth flies past a lens. In this guide, we’ll walk you through a step-by-step roadmap to transform those gadgets into a reliable, DIY security shield. You’ll learn how to leverage 2026 standards like Matter for seamless connectivity, where to position sensors for maximum coverage, and how to verify everything with a final stress test. By the end, you’ll have a fully functional system that brings true tranquility to your daily life.
Key Takeaways
- Verify your WiFi signal strength first; it’s the foundation for a reliable network of sensors and cameras.
- Follow this smart home security system setup guide for beginners to create layered defense zones, from your outdoor floodlights to your ground-floor windows.
- Use the ‘One-by-One’ rule to sync your devices next to the hub before mounting them to prevent technical failures during installation.
- Run a complete stress test with a ‘walk test’ and silent alarm check to ensure your smartphone alerts are accurate and timely.
- Maintain your shield by performing a six-month lens cleaning and battery check while auditing your account for total privacy hygiene.
Table of Contents
The Pre-Setup Phase: Preparing Your Home for Smart Security
Think of your new security system not as a collection of isolated gadgets, but as a team working together to protect your home. At its heart, a modern system is a network of sensors and cameras that all report back to a central hub. This hub acts as the brain, translating signals from a door sensor or a motion detector into the helpful alerts you see on your smartphone. Because this is a smart home security system setup guide for beginners, we want to start with the most critical component: your connection. Without a stable foundation, even the most expensive camera is just an expensive paperweight.
Your WiFi signal is the single most important factor in a successful DIY installation. These devices need to talk to each other and the cloud constantly. If your signal is weak at the front door, your video doorbell will lag or fail when you need it most. Before you start sticking sensors to walls, it’s helpful to understand the home security hardware basics that keep a house safe. Most DIY kits are designed to be accessible, usually requiring nothing more than a standard screwdriver and your smartphone to get everything running.
To better understand how these pieces fit together, watch this helpful video:
Once you’ve confirmed your tools are ready, perform a quick unboxing and inventory check. Ensure you have all the mounting brackets, activation codes, and batteries included in the box. It’s much easier to find a missing screw now than when you’re halfway up a ladder. Check for any small “pull tabs” on battery compartments; these are often overlooked and will prevent your devices from powering on during the initial sync.
Testing Your Network Strength Before You Drill
Stability is more important than raw speed. Use a speed test app on your phone at every location where you plan to install a camera or sensor. Check both the 2.4GHz and 5GHz bands to see which offers the most consistent connection. If you find dead zones near your outdoor entry points, you might need a WiFi extender or a Mesh system to push the signal through thick exterior walls. To stream 4K security footage reliably, each camera typically requires a minimum dedicated upload speed of 5 Mbps.
Creating Your Dedicated Security Account
Privacy is paramount when you’re installing indoor cameras. Always use a unique, complex password specifically for your security app rather than recycling one from your social media accounts. Enabling Two-Factor Authentication (2FA) is a non-negotiable first step; it ensures that even if someone gets your password, they can’t access your live feeds. Finally, set up your ‘Master User’ account for yourself and use ‘Guest Access’ for family members or roommates. This allows them to arm and disarm the system without having the power to change your core security settings or delete recorded footage.
Strategic Hardware Placement: Creating Your Security Layers
Effective security is built in layers. Think of your home like a fortress where each ring of protection buys you more time and information. In this smart home security system setup guide for beginners, we focus on three distinct zones: the perimeter, the entry points, and the interior. By organizing your hardware this way, you ensure that even if one device is bypassed, another is ready to catch the movement. Before you start mounting your hardware, it is always a wise idea to research avoiding home security scams to ensure you are working with a reputable brand that respects your privacy and your budget.
Your perimeter layer consists of outdoor floodlight cameras and video doorbells. These are your early warning systems. Next comes the entry layer, which uses contact sensors on every door and ground-floor window. Finally, the interior layer utilizes motion detectors in high-traffic hallways. To keep this whole network running smoothly, place your central hub in a location that is roughly equidistant from all your sensors. Tucking it away in a back closet might look neat, but a central, open spot ensures the brain of your system stays in constant contact with every limb. If you’re still choosing your gear, browsing our smart home buying guides can help you find a hub that fits your specific floor plan.
Optimizing Video Doorbell and Camera Angles
Placement height is the difference between seeing a visitor’s face and just the top of their hat. Aim to mount your cameras and doorbells between 5 and 7 feet above the ground. This height is ideal for facial recognition and prevents most people from easily reaching up to cover the lens. You should also overlap your camera fields of view slightly. If one camera has a blind spot, a second camera should be angled to cover that gap. For more specific installation advice, check out our Video Doorbell Review 2026 to see how different models handle various porch layouts.
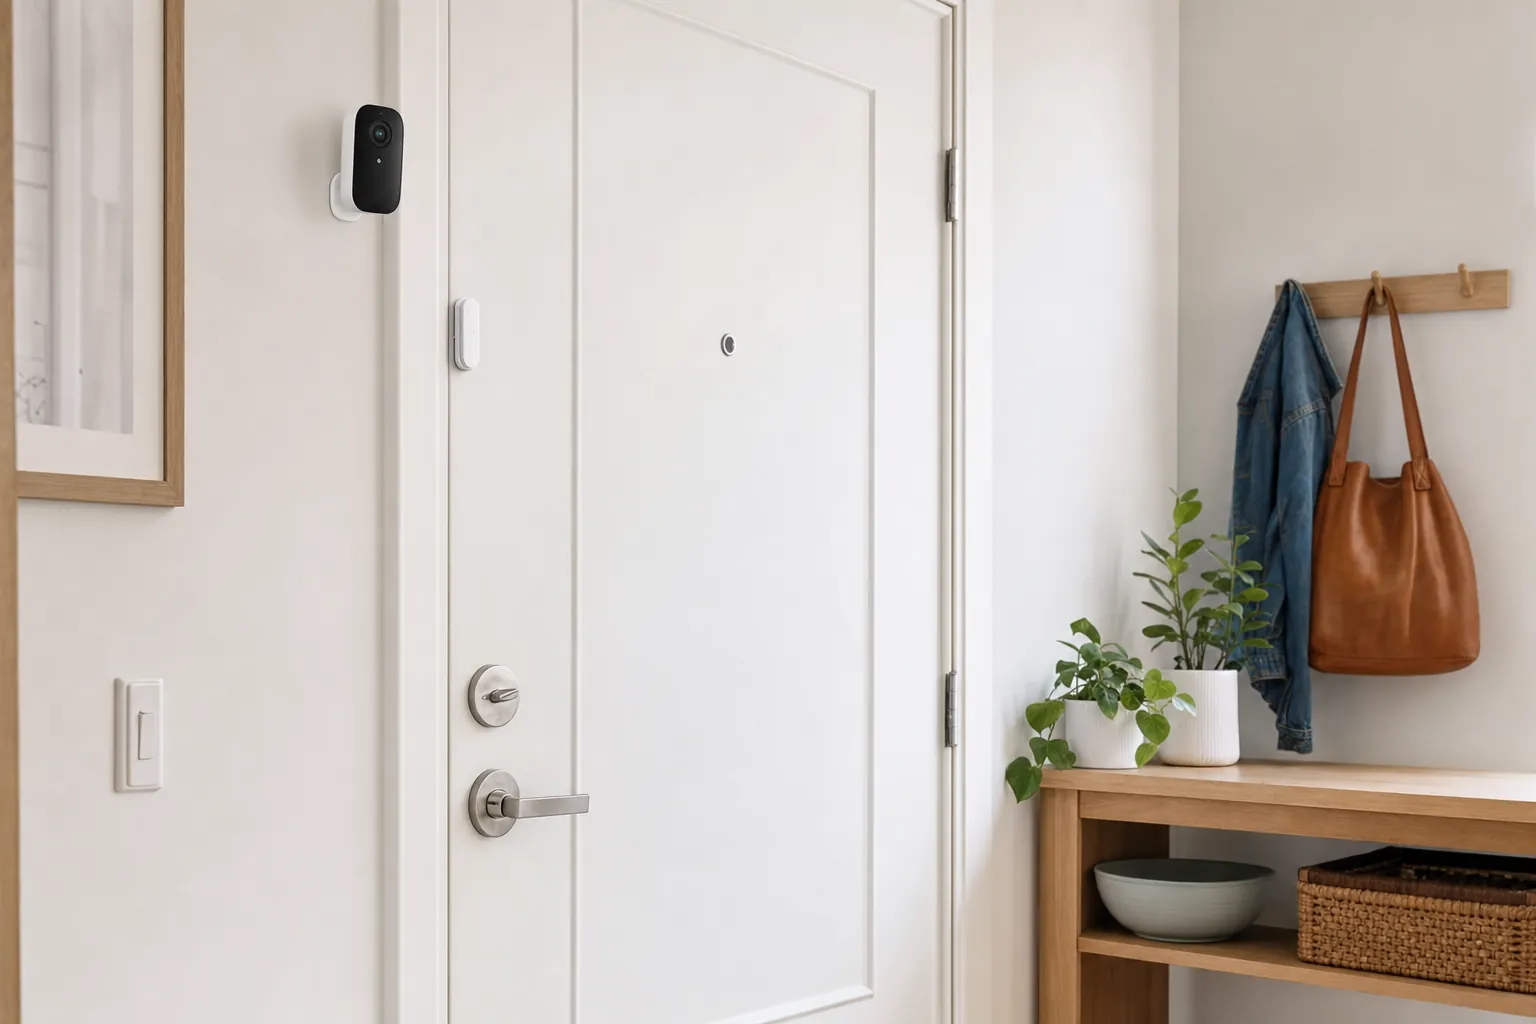
Installing Door and Window Sensors Correctly
Precision matters when you’re installing contact sensors. Follow the 1/2-inch rule: the magnet and the sensor must be within half an inch of each other when the door or window is closed. If the gap is too wide, the system will think the door is open even when it’s locked tight. If you are a renter, use high-quality adhesive strips for a no-trace installation that won’t damage the paint. This allows you to stay secure without risking your security deposit. If you’re still looking for the right hardware, our Smart Home Door Sensor Roundup 2026 features the best options for every type of entryway.
The Software Brain: Syncing and Configuring Your Devices
Now that your hardware is in position, it’s time to bring the system to life. The software is the true brain of your setup; it’s what turns a simple motion trigger into a meaningful alert on your phone. This part of our smart home security system setup guide for beginners focuses on making your devices talk to each other without a hitch. Before you grab the ladder to mount anything permanently, follow the ‘One-by-One’ rule. Sync every sensor and camera while standing right next to your central hub. It’s much easier to troubleshoot a pairing error at your kitchen table than it is while balancing on a step stool outside.
When you first connect a device, your app will likely prompt you to download a firmware update. Don’t skip this. These updates often include critical security patches and performance improvements that ensure your system is compatible with the latest 2026 standards. While you wait for the progress bar, take a moment to establish clear naming conventions. Avoid generic labels like ‘Sensor 1’ or ‘Camera A.’ Use specific names like ‘Back Patio’ or ‘Mudroom Door.’ Clear names allow you to react instantly when an alert pops up, saving precious seconds during an emergency.
Your daily experience will mostly involve switching between ‘Home,’ ‘Away,’ and ‘Disarmed’ modes. ‘Away’ mode typically activates every sensor in the house. ‘Home’ mode is perfect for nighttime, as it arms your door and window sensors while keeping interior motion detectors off so you can walk to the kitchen without triggering the siren. Setting these schedules now creates a seamless rhythm that protects your family without causing friction in your routine. This logical progression moves you from a box of parts to a customized shield for your home.
Configuring Motion Zones and Sensitivity
One of the biggest frustrations for new users is a phone that won’t stop buzzing. To fix this, use the masking tool in your app to block out high-traffic sidewalks or swaying tree branches. Most modern systems also offer ‘People Only’ alerts. This AI-driven feature filters out neighborhood cats or passing cars, ensuring you only get a notification when a human is actually on your property. You can also adjust the ‘Dwell Time,’ which determines how long someone must be in view before an alert is sent, helping to preserve your camera’s battery life by reducing unnecessary recordings.
Integrating with Alexa, Google Home, or HomeKit
A truly smart system works with the tools you already use. You can enable voice-activated arming through your favorite assistant, though you should always require a secure PIN for disarming to prevent someone from shouting through an open window. For an extra layer of safety, set your smart lights to flash red if the alarm is triggered. This visual cue can alert neighbors and disorient intruders simultaneously. To ensure your chosen gear plays well with your existing ecosystem, refer to our DIY Home Security Systems Guide for a deep dive into compatibility and ecosystem choices.
The Stress Test: Verifying Your System’s Reliability
A security system you haven’t tested is just a collection of hope. Most people stop once the last screw is tightened, but that’s a mistake that can lead to missed alerts when they matter most. This smart home security system setup guide for beginners wouldn’t be complete without a rigorous verification phase. You need to know that when a door opens at 2:00 AM, your phone buzzes instantly. Start by conducting a ‘walk test’ around your entire perimeter. Move through every room and past every motion sensor to ensure they trigger exactly as you planned. While you do this, perform a ‘Silent Alarm’ test. This confirms that your system sends a push notification to your smartphone before the audible siren actually kicks in, giving you a chance to disarm it if it’s just a family member coming home late.
Wait until the sun goes down to check your night vision. Infrared lights can sometimes reflect off nearby white walls or window glass, blinding the camera with a hazy white glare. If you see a fog on your screen, adjust the camera angle slightly away from the reflective surface. Finally, open your app’s device health dashboard. Every wireless component should report at least 90% battery power after the initial setup. If a sensor is already dropping lower, it might be struggling to maintain a connection to the hub, which drains power significantly faster than a stable link.
Simulating a Breach (Safely)
Open every protected door and window one by one. Your hub should chime or update its status to ‘Open’ immediately. To test your siren without upsetting the neighborhood, look for a ‘Test Mode’ or ‘Chime Only’ setting in your app. This allows the system to cycle through its alarm sequence at a lower volume or with flashing lights only. Don’t forget to check your video doorbell; ring it and ensure the clip is successfully saved to your cloud or local storage for later review. If your hardware isn’t performing as expected, you can find more robust options in our smart home buying guides.
Troubleshooting Connection Drops
If a sensor shows as ‘Offline’ the moment you walk away, it is usually due to signal interference. Try changing your router’s WiFi channel to a less crowded one, such as channel 1, 6, or 11, to avoid clashing with your neighbors’ networks. This simple tweak can often fix a ‘ghosting’ sensor that refuses to stay connected. For more complex issues like persistent hub disconnects or app lag, check out The Savvy Smart Home Troubleshooting Guide for deep-dive fixes that get your system back on track in minutes.
Long-Term Savvy: Maintenance and Privacy Hygiene
Building your security shield is a massive win, but the most effective systems are those that stay sharp over time. It is easy to fall into a “set it and forget it” mindset once the initial excitement wears off. However, maintenance is what prevents a sensor from failing during a real emergency. We recommend a simple 6-month maintenance checklist to keep everything in peak condition. Start by wiping down your camera lenses with a microfiber cloth; spiders and dust love to settle on warm camera housings, which can blur your footage or trigger false motion alerts. Check your battery health in the app and replace any that have dipped below 20% to avoid a sudden blackout.
Security is about more than just physical hardware; it is also about digital privacy hygiene. Every few months, audit the authorized users on your account. If a former roommate or a contractor still has guest access, remove them immediately. Check the “logged-in devices” section of your security app to ensure no unrecognized smartphones are accessing your feeds. As you become more comfortable with your setup, you might consider expanding your nest. Since you followed this smart home security system setup guide for beginners, your hub is likely ready for 2026 standards like Matter. This makes it easy to add specialized gear like water leak sensors or smoke listeners to protect your home from more than just intruders.
Securing Your Footage
Deciding between local and cloud storage is a major step in protecting your privacy. Local storage, like a high-endurance microSD card, keeps your video inside your home, while cloud storage offers the convenience of accessing clips from anywhere. For the best of both worlds, set up an auto-delete schedule for non-event footage to ensure your drive doesn’t fill up with clips of the mailman. You can also use geofencing, a feature that uses your phone’s GPS to automatically turn off indoor cameras when you arrive home, providing total privacy without you having to lift a finger.
Conclusion and Next Steps
You’ve successfully moved from a box of gadgets to a professional-grade, DIY security shield. That feeling of checking your phone and seeing your home is safe is exactly what smart technology is for. We encourage you to share this guide with friends or neighbors who are just starting their own smart home journey. If you want to stay ahead of the curve, sign up for the SavvyNests newsletter to get the latest 2026 tech updates and savvy tips delivered straight to your inbox.
Secure Your Peace of Mind for 2026
You’ve moved from a box of intimidating gadgets to a professional-grade security network. By following this smart home security system setup guide for beginners, you’ve mastered layered defense and verified your system with a rigorous stress test. You now have a home that doesn’t just record events but actively protects your family with accurate, helpful alerts. The transition from technical overwhelm to total control is complete, giving you the freedom to focus on what happens inside your home rather than worrying about what’s outside.
Ready to expand your system or upgrade your hardware? We’ve done the heavy lifting so you don’t have to. Our resources offer expert-vetted security reviews, privacy-first installation tips, and the latest Matter and Thread compatibility insights to keep your tech current. Build your safer nest today with our DIY Home Security Systems Guide and take the next step in home automation. You have the tools and the knowledge to stay safe; now it’s time to enjoy the comfort of a truly protected home.
Frequently Asked Questions
Do I need a professional to install my smart home security system?
No, you don’t need a professional to install a modern smart security system. Most top rated brands are specifically designed for DIY installation, requiring only a smartphone and a screwdriver. This smart home security system setup guide for beginners provides the roadmap you need to handle the process yourself. By following a logical sequence, you can save on installation fees while gaining a deep understanding of how your home’s protection actually works.
Can I set up a security system without drilling holes in my walls?
Yes, you can absolutely set up a security system without drilling a single hole. Most entry sensors and indoor cameras come with industrial strength adhesive strips that provide a secure hold on finished surfaces. This no-trace approach is perfect for renters or anyone who wants to avoid permanent wall damage. If you ever move, you can simply peel them off without leaving any residue or damage behind.
What is the best WiFi speed for a smart security system setup?
For a system with 4K cameras, you should aim for a minimum upload speed of 5 Mbps per device. While many users focus on download speeds, it is the upload capacity that determines how quickly your footage reaches the cloud. If your connection is too slow, you might experience laggy video or missed alerts. Checking your network stability at each camera location is a vital step in any successful setup.
How do I prevent my smart security cameras from being hacked?
The most effective way to prevent hacking is to enable Two-Factor Authentication (2FA) on your security account. This adds a second layer of protection that requires a code from your phone to log in. You should also use a unique, complex password that you don’t use for any other service. Keeping your device firmware updated ensures your system has the latest defenses against emerging digital threats and exploited vulnerabilities.
Will my pets trigger the motion sensors and set off the alarm?
Do smart security systems work if the internet goes down?
Your system will still function as a local alarm if the internet goes down, but you won’t receive remote notifications. Sensors will still trigger the siren to scare off intruders. However, to maintain a connection to professional monitoring or your smartphone during an outage, you should choose a hub with cellular backup. This ensures your home remains protected even if your primary WiFi connection is cut or fails.
How much does it cost to set up a basic DIY security system in 2026?
What should I do if my sensors keep losing connection to the hub?
If your sensors keep losing connection, the most common culprit is signal interference or distance from the hub. Try moving the hub to a more central location or switching your WiFi router to a less crowded channel like 1, 6, or 11. This smart home security system setup guide for beginners emphasizes that a clear line of sight and minimal interference are essential for a reliable, professional-grade DIY security shield.
Article by
Michael J. Mahon
I research and compare smart-home products for homeowners and renters, focusing on practical setup, compatibility, affordability, and everyday usefulness.
A first-day setup sequence for beginners
- Write down the entrances and rooms that need attention before opening every box.
- Set up the main app, a strong account password and account recovery details first.
- Install the camera or doorbell where it has a useful view, then test the signal and live view before mounting permanently.
- Add entry and motion sensors one at a time, naming each device clearly in the app.
- Set notification preferences, test alerts with a household member and review the setup again after the first week.
This order keeps troubleshooting simple. It also makes it easier to spot whether an alert problem comes from placement, Wi-Fi or a setting, rather than guessing across an entire new system.